Go to mainnet
Request mainnet access, connect your own custody account, and go live.
You start with a Sandbox project on devnet. The SDP team must approve your organization before enabling Production on mainnet.
1. Request mainnet access
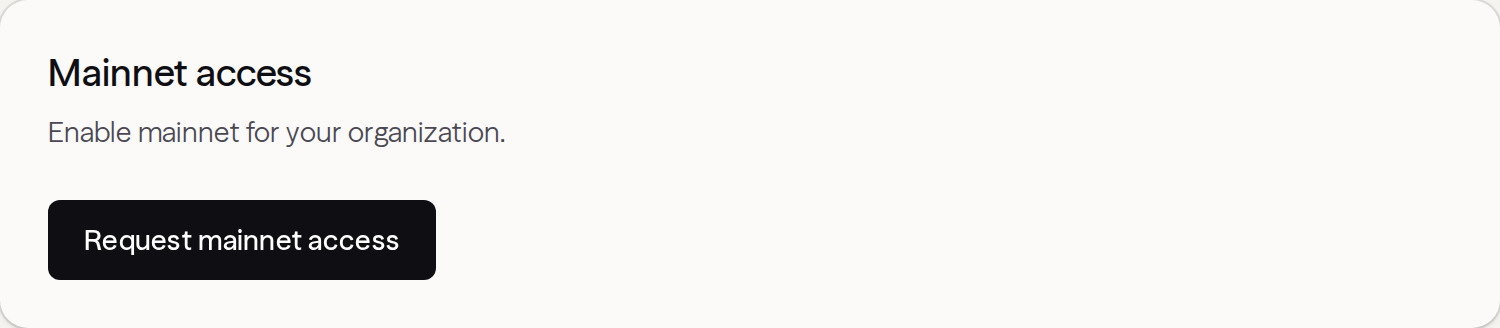
Sign in to the dashboard as an organization admin. Open the account menu at the bottom of the sidebar, then Settings. Under Mainnet access, click Request mainnet access. If the section is missing, ask an admin to submit.
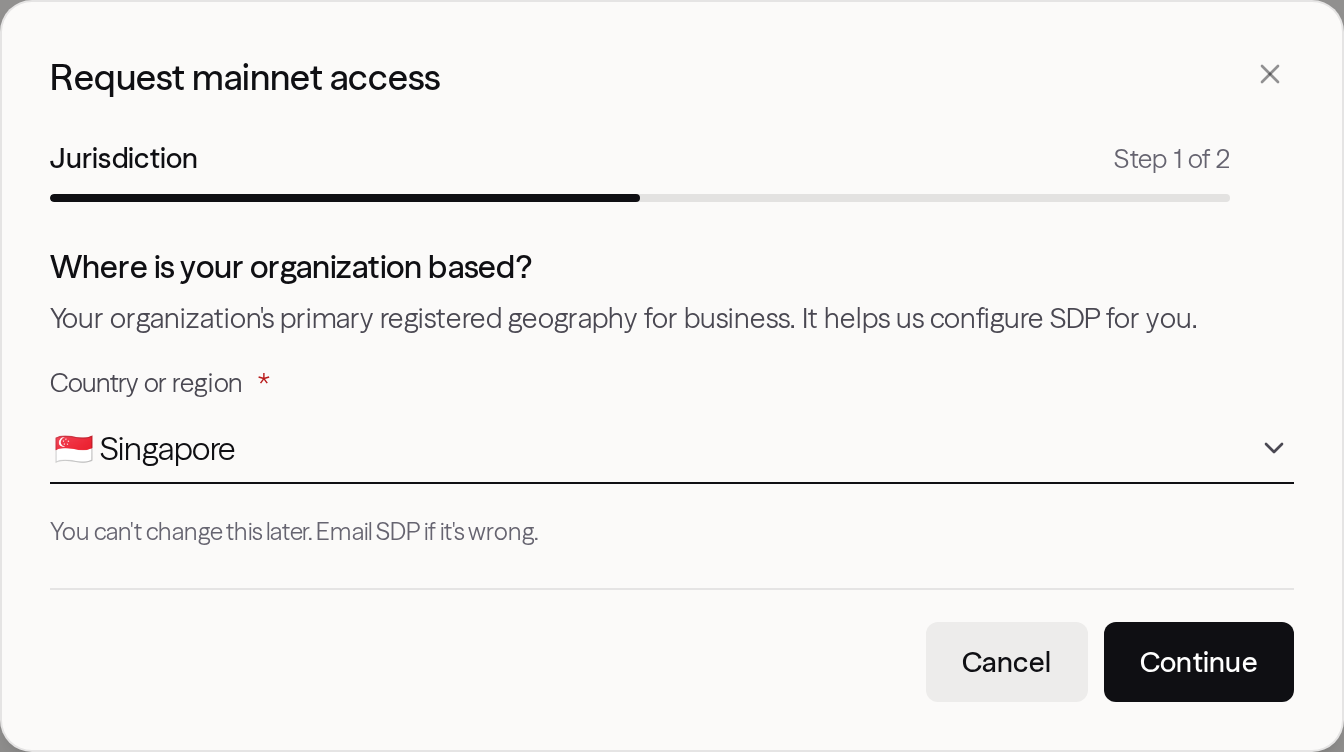
Select your organization's registered Country or region and click Continue. Contact the SDP team to change it after submission.
Read the Terms and Conditions to the end, accept them on your organization's behalf, and click Send request. Request sent confirms submission; Settings shows In review until approval.

If you see Request not sent, click Send request again; your details are saved. If requests aren't open, contact the SDP team.
2. Switch to Production
After approval, refresh Settings. When Mainnet access shows Approved, click your organization's name at the top of the sidebar and select your production project (by default, Default Production Project).
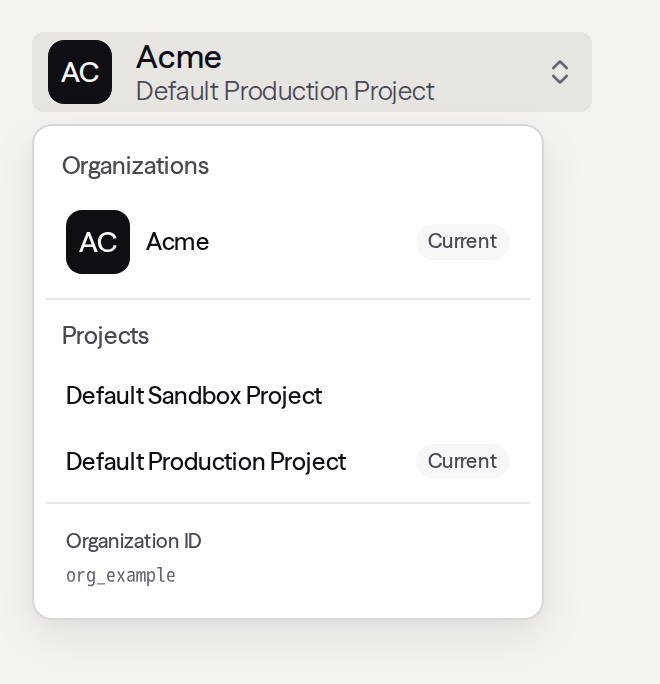
Production uses mainnet-beta. Wallets, provider connections, and API keys are
separate from Sandbox and must be set up again.
3. Connect your custody provider account
Production runs on your own provider account. Open Wallets, click Create wallet, and choose a provider.
- Connect Fireblocks: Connect your own Fireblocks workspace for production custody.
For Privy, keep or rename the Credential label. Enter your Privy app ID and Privy app secret from the Privy dashboard, then a Wallet label. Click Connect and create wallet to verify the connection and create your first Privy wallet.
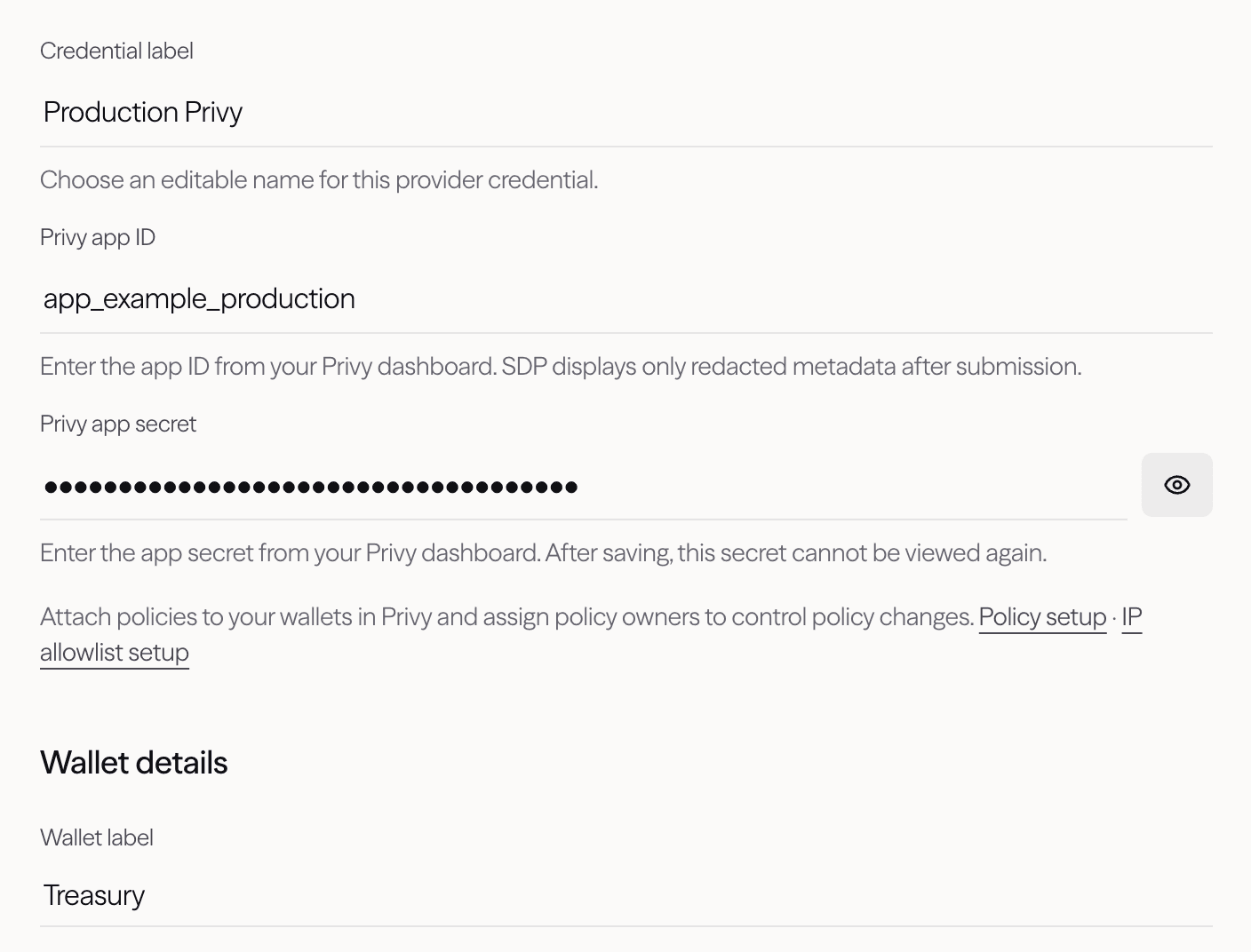
For more wallets, pick this connection under Whose Privy account holds the keys? See Create a wallet.
4. Create a production API key
In Production, open API keys and click Create new API key. Name it, grant the actions it needs, choose which wallets it can sign with, and review the summary. Click Create key.
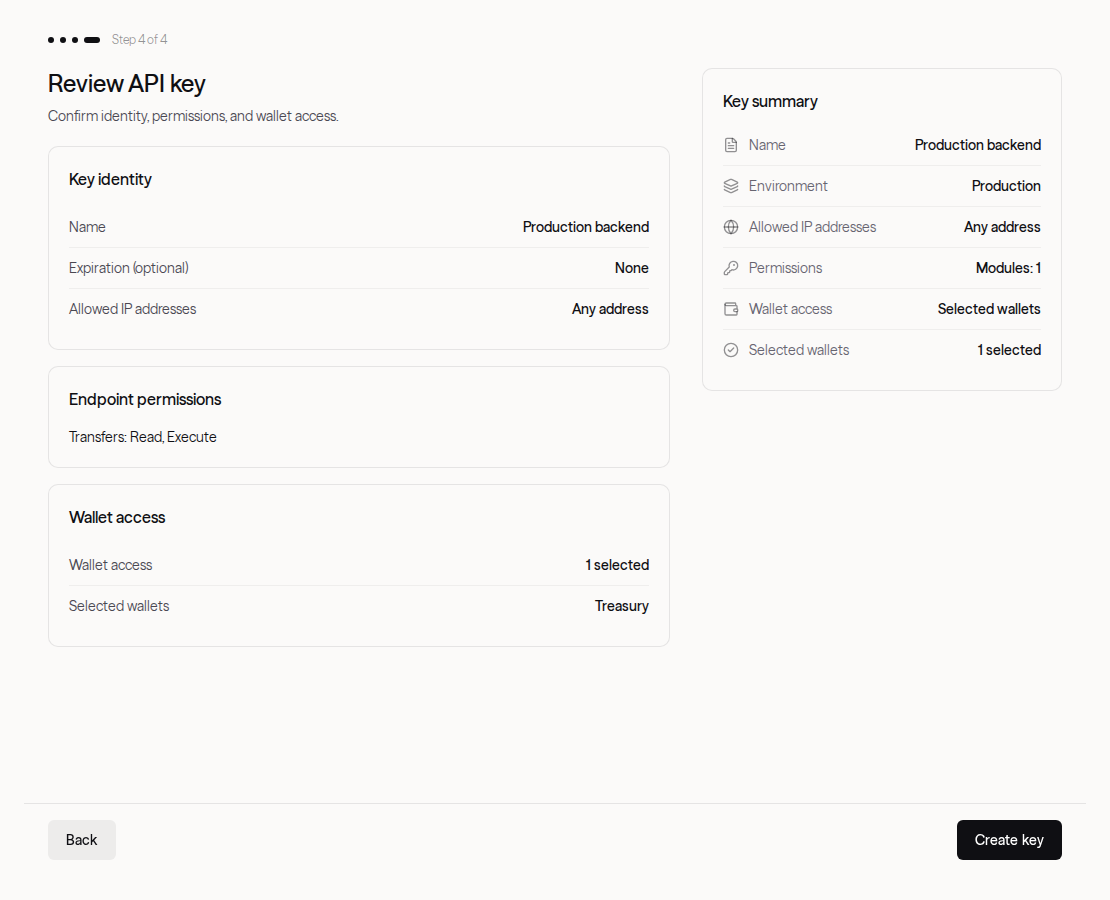
Copy the key to your secret manager; it's shown once. Replace your backend's
sandbox key. The API URL stays https://api.solana.com; the key's project
determines the network. See
API key grants and wallet access.
5. Fund your wallet with mainnet USDC
Send a small amount of USDC on Solana mainnet to your wallet's address.
Devnet tokens have no value on mainnet. Circle's
mainnet USDC mint
is EPjFWdd5AufqSSqeM2qN1xzybapC8G4wEGGkZwyTDt1v.
Use "token": "USDC" in transfer requests so SDP selects the mint for your network.
Replace any hardcoded devnet mint addresses.
SDP sponsors network fees and recipient token-account rent for transfers it signs from your Privy wallet. Fund it with USDC; no SOL is needed for those fees. Sponsorship limits apply. If sponsorship is unavailable, SDP refuses the transfer instead of charging your wallet.
Send a small first payment and verify its status before increasing volume.